Liposuction Gallery
Back To Galleries
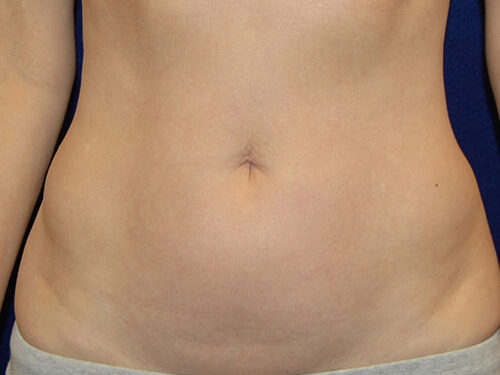
![Liposuction Before Patient 1]()
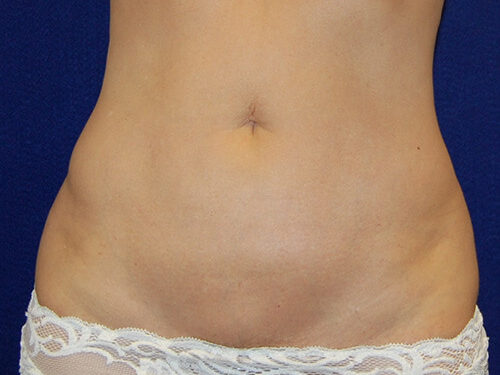
![Liposuction After Patient 1]()
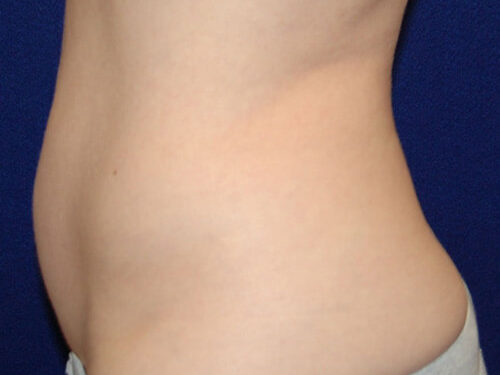
![Liposuction Before Patient 2]()
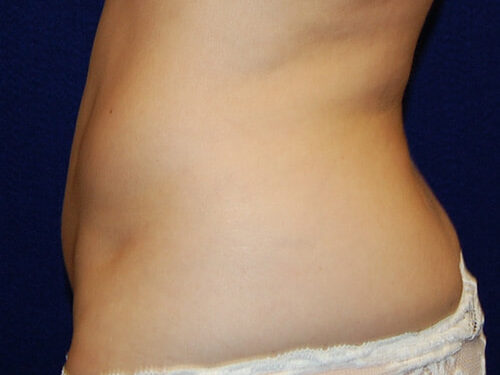
![Liposuction After Patient 2]()
![Liposuction Before Patient Thumbnail 1]()
![Liposuction After Patient Thumbnail 1]()
![Liposuction Before Patient Thumbnail 2]()
![Liposuction After Patient Thumbnail 2]()
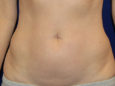
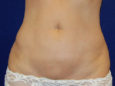
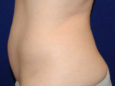
Liposuction Patient 01